Wondering if your hygrometer is giving accurate readings? Calibrating it ensures you get precise humidity levels, which is especially important for things like preserving artwork or brewing beer.
One of the most reliable methods involves using a simple salt test to set your hygrometer correctly. Here’s how to do it step by step.
Why the Salt Test Is the Best Way to Calibrate Your Hygrometer
The salt test provides a reliable fixed reference point of 75% relative humidity in a sealed container. Saturated table salt naturally maintains this specific humidity level, making it an effective standard for calibration. You don’t need specialized laboratory equipment—just common household items like a small container, salt, water, and plastic wrap. Since this environment is sealed, environmental factors such as room temperature or airflow won’t influence the test results, ensuring accuracy. You can quickly compare your hygrometer’s reading with the known 75% RH mark, then determine the necessary adjustment. This method is practical, consistent, and compatible with both analog and digital hygrometers, offering a straightforward way to keep your device precise without extra expenses. For best results, use a pH meter reading to verify that the water you add to the salt is neutral, avoiding any acidic or basic interference with the calibration. A quality device like a water tester ensures your water’s pH is perfectly neutral for this step. Understanding whether you need a hygrometer vs. humidistat depends on whether your goal is simply to measure or to actively control humidity in your grow.

INACCURATE HYGROMETER READINGS PUT PREMIUM CIGARS AT RISK. Precisely calibrate digital and analog hygrometer and humidity sensors, so they give accurate relative humidity (RH) readings of what’s going on inside a humidor

✅【STOP GUESSING YOUR HUMIDITY】This professional 6-pack 75% RH humidity control pack uses a precision salt solution to create a controlled 75% RH reference environment, allowing you to verify digital and analog hygrometers before trusting them inside your humidor or storage space. An uncalibrated hygrometer can be off by 5–10% RH, leading to moldy cigars, dried-out wrappers, cracked wooden instruments, stale tea leaves, or damaged collectibles.[Note: Hygrometer is not included in the package]

Country Of Origin: United States
What You’ll Need for the Salt Calibration Test
You’ll need a few common household items to perform the salt calibration test. Start with plain table salt—iodized or non-iodized works just fine, but fine-grain salt is preferable because it mixes more easily into a uniform paste. Avoid using coarse crystals since they won’t dissolve well or form a consistent slurry. Distilled water is the best choice to prevent mineral buildup that could affect your readings. For container options, choose materials like glass, ceramic, or plastic. A small dish or bottle cap that can fit inside your sealed chamber works well as long as it stays level. You also need a sealable zip-top bag or an airtight jar; clear versions are recommended so you can read the hygrometer without opening the container. Don’t forget your hygrometer, a spoon for mixing, and a paper towel for cleanup. Make sure the hygrometer does not touch the slurry or the container walls during the process. While a pump is normally vital for aeration, you can carefully use an air stone without pump in a very shallow setup to diffuse minimal air movement. For a precise alternative, you can follow a DIY pH buffer solution method to cross-verify your calibration. Set everything up in a stable room temperature environment to ensure accurate and consistent results. Growers similarly rely on consistent environmental conditions to get the most value from coco coir as a growing medium.
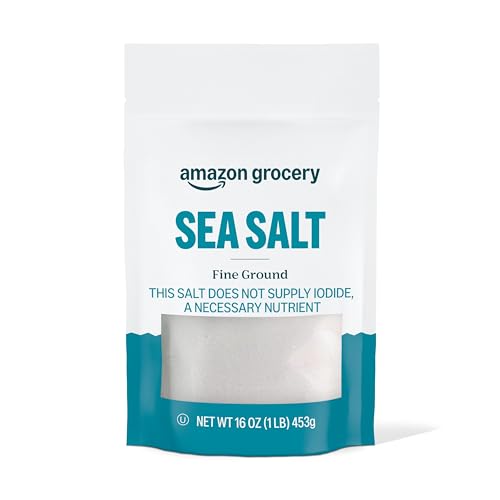
One 16 ounce resealable bag of Fine Ground Sea Salt
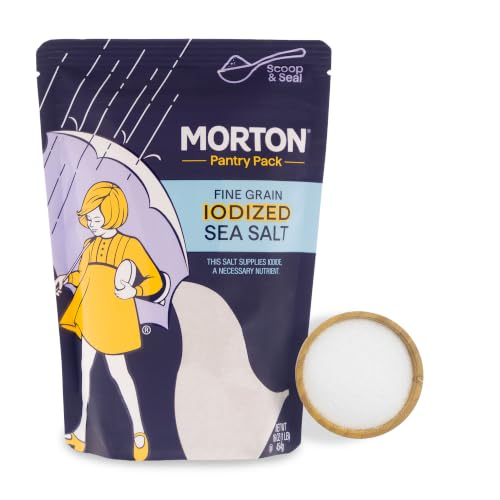
Iodized: This fine sea salt for cooking supplies Iodide, a necessary nutrient that supports thyroid function

Non-GMO Project Verified and Kosher Certified
How to Mix a Salt Slurry for Exactly 75% Humidity
To mix a salt slurry that results in exactly 75% humidity, use about one tablespoon of non-iodized table salt. Place the salt in a small dish or bottle cap. Add distilled water a few drops at a time, mixing thoroughly after each addition. You want a consistency similar to damp sand or a grainy paste, with no standing water on top. If the mixture turns into a clear liquid brine, you have added too much water. Achieving the correct texture is key for consistent humidity levels. Once mixed, place the salt mixture in an open container inside an airtight environment with your hygrometer. Ensure the hygrometer does not touch the salt and that the container is sealed tightly. Keep the setup at a stable room temperature, and it will maintain approximately 75% relative humidity for calibration purposes. This method is more reliable than relying on the aeration of porous substrates like perlite, which is often chosen for its drainage properties in succulent soil mixes. Unlike coco coir, which is a top option for seed starting due to its moisture retention, the salt test provides a controlled reference point for your hygrometer. For best results, ensure the perlite or other substrate you use is thoroughly dry and free of contaminants to avoid skewing the reference humidity.
How Long to Wait for the Salt Test to Stabilize
Once you’ve sealed the salt slurry and hygrometer inside an airtight container, you should wait for the reading to stabilize. Most guidelines recommend waiting between 6 to 8 hours; however, waiting 24 hours provides the most reliable results, particularly with analog hygrometers. Shorter wait times can lead to inaccurate readings if the humidity hasn’t equilibrated, while waiting too long generally doesn’t improve accuracy and just delays your process. Common mistakes include opening the container too early or exposing it to temperature fluctuations, which can reset the stabilization process. If the hygrometer’s reading stops drifting and remains close to 75% relative humidity, it has likely stabilized. For quicker results, 6 to 8 hours works as long as room conditions stay stable; for maximum accuracy, a full 24-hour wait is recommended. Overnight stabilization is often sufficient for practical purposes, but a full day ensures the most dependable calibration. For faster calibration, you can use a moisture meter with a time-saving shortcut to check for equilibrium more quickly.
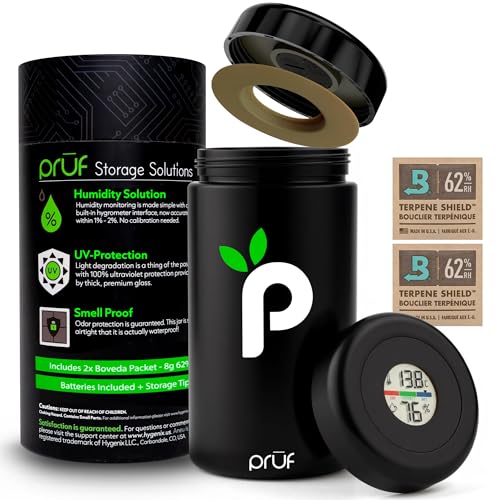
IDEAL FOR PREMIUM DRIED GOODS — Freshness is fragile. Light, oxygen, and fluctuating humidity quietly degrade dried herbs, coffee, spices, teas, and other aromatic goods long before their time. The Prūf Controlled Environment Jar helps create a stable internal climate so what you store tastes, smells, and performs exactly as it should.

AUTO BURP, CURE & STORAGE MODE KEEPS CONTENTS FRESH FOR MONTHS - The Vacuum Seal and UV protection preserves your herbs, spices, coffee & teas and keeps them fresh for months. Our patented technology allows for an all in one experience
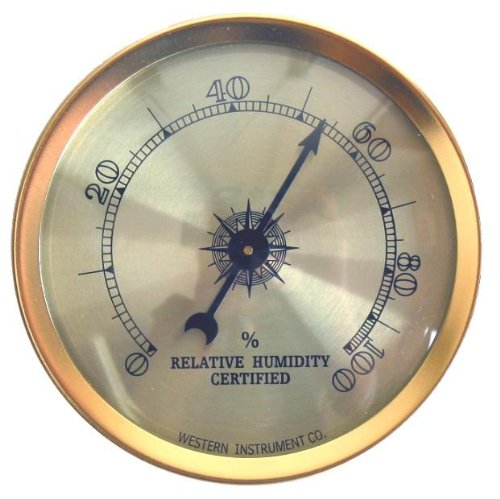
PRECISE HUMIDITY TRACKING: Maintain the optimal environment. Our hygrometer ensures the perfect conditions providing precise humidity tracking giving you real-time, readings with accuracy of +/- 1% With this high level of precision, you can have peace of mind that they are always in the ideal humidity conditions for their longevity and quality.
How to Read the Results and Correct Your Hygrometer’s Offset
After the stabilization period, check your hygrometer’s reading against the salt test’s target of 75% relative humidity. If it reads 70%, your offset is +5%: you’ll add 5 points to future readings. A reading of 78% means a -3% offset: subtract 3 points. Common calibration mistakes include forgetting to note this offset or applying it inconsistently. For digital hygrometers, you can often enter this offset directly into calibration settings to correct the display. If your device does not have calibration options, record the offset and manually adjust your readings accordingly. Errors beyond ±3% should be corrected promptly; deviations over ±7% may suggest the hygrometer is drifting out of calibration. Repeat the salt test to confirm that the measurement remains stable before relying on your adjustments. To ensure your test chamber is properly sealed, you can use a DIY soil pH kit’s principles of simple container assembly, which rely on readily available household items. Achieving accurate readings also requires avoiding liner tears just as you would avoid tearing the salt-brine seal during the test. To achieve consistent results, ensure the ducting is cut cleanly without tearing the inner liner, just as you would avoid tearing the salt-brine seal during the test.

Convenient Design: Delicate size, portable, and light

1-【Widely Application】The digital LCD monitor can be used in home, office, garage, schools, hotels, laboratories, kindergartens, aquaculture, instrument workshop, warehouse, reptile tank terrarium, aquarium, hermit crab habitat, and other places where temperature/humidity measurement is required.
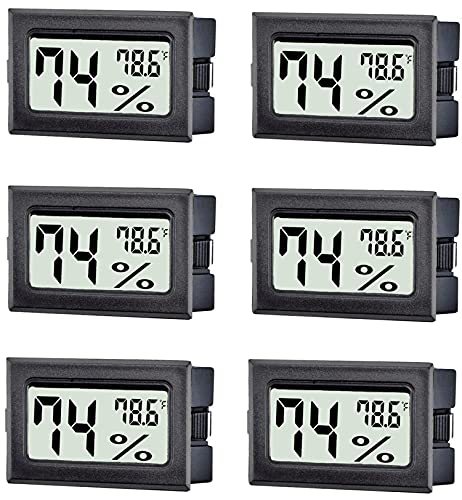
Package Contents:6 Pack (Included Battery )